How to make natural best turmeric Easter Eggs? The answer is right here for you…so please keep reading until…

Hello my dear readers…how are you?
Yes, I know. You are looking to make the most amazing yellow, sunshine eggs or/and eggs full of happiness for you and your family. So, the answer is here for you. And the answer is in this post or I like to say it is my happy post called how to make the most natural best turmeric Easter Eggs. BTW, you don’t need to make this recipe just for the Easter. This can be made any time of the year. It is great project to play with your kids and teach them about benefits of the Indian spices. One of the spices is our 5 star ingredient today. The one and only Mr. TURMERIC. Let me share a more under the title called…
Description of Natural Best Turmeric Eggs
- Easy to make
- Free from all chemicals (super important)
- Joy to eat…
To create sunshine eggs you will need only a few ingredients: water, boiled eggs, vinegar and turmeric. This recipe is only for 4 to 5 eggs so it is super easy for you to start practicing. And to start practicing you will need to get ingredients which is listed under …
SHOPPING LIST FOR THE BEST TURMERIC EGGS
- Turmeric
- Eggs (white eggs)
- White vinegar
Equipment Needed
-medium sauce pan
-wooden spoon
-medium size bowl (I used glass bowl)

Action Time
Making Natural Best Turmeric Easter Eggs
Ingredients
5 eggs, boiled
4 cups water
1/2 tsp vinegar
1 TBSP turmeric
Important: use white eggs for this recipe.
Instructions for making Turmeric Eggs
Add water to the sauce pan and bring to the boil.
When water boils remove from the heat and transfer to the bowl.
Immediately add 1 TBSP of turmeric and stir with wooden spoon.
Add the white vinegar and quickly stir again.
Cover the mixture and let it sit for 15 minutes.
Your next step is to pour the turmeric mixture into a sauce pan through a strainer.
Then add 5 hot boiled eggs to the turmeric mixture.


Important: Be very careful when transferring hot eggs to the turmeric water.
Be sure the eggs are completely covered by the liquid.
Be kind and let them enjoy turmeric bath for at least 2 hours.
My Easter turmeric eggs were bathing for full 3 hours.
Please check the color after 60 minutes and keep checking until you get the color you like.
If you like very light yellow eggs 60 to 90 minutes might be enough.
When you are happy with your sunshine eggs remove them from the liquid and place on paper towel to dry.
Extra step I like to do: Take a little piece of cheese cloth and moisten with olive oil. Then rub your eggs to make them extra happy, sunshine yellow turmeric eggs.
And this is it. You just made the sunshine eggs in your kitchen.
So, please don’t forget to share and enjoy.

Quick Note
Eggs – please use large, white eggs. If you need color to be sunshine yellow the eggs must be white. Of course use organic eggs if you can. After all this is the project you will be eating so use the best quality ingredients you can afford.
IMPORTANT: The eggs must be boiled. If you don’t know how to boiled the eggs please check this LINK or Deviled Barbie Eggs – Delish Beauty
Turmeric – I used the organic turmeric. The place I like to buy turmeric is the Winners store. Why? Because the price is the best and the quality is amazing.
Vinegar – this recipe was tested using white vinegar.
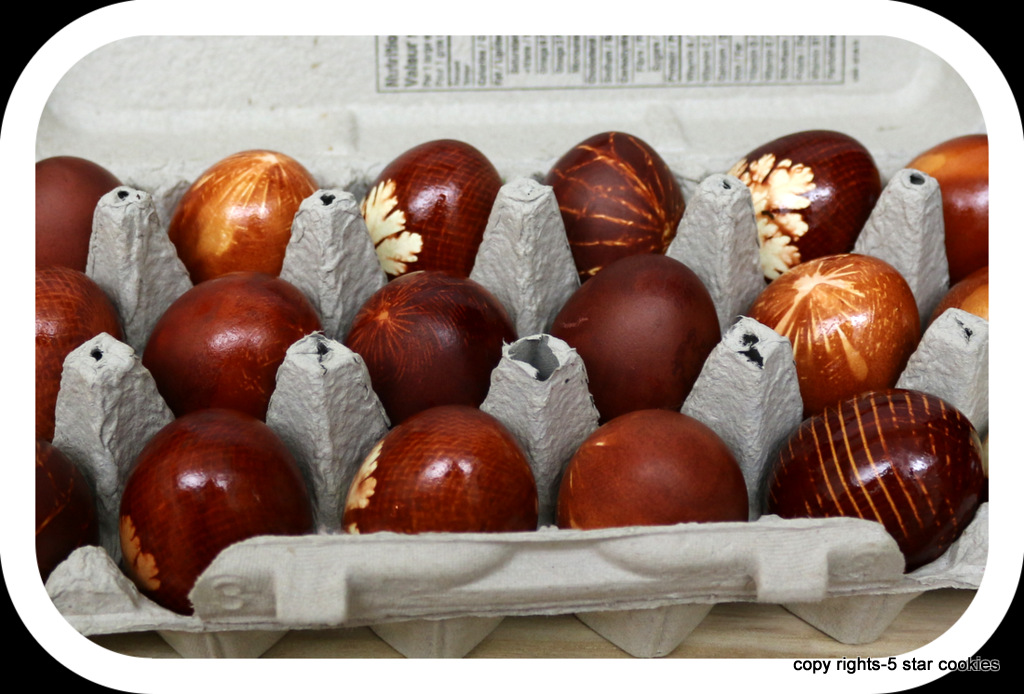
Turmeric Eggs using Brown Eggs
So what if you don’t have any white eggs? Can you dyed eggs with turmeric using the brown eggs?
What do you think?
Of course you can. The only problem is that your eggs will not be the yellow color.
Yes, if using turmeric to dye the brown eggs you will get kind of light brown color.
And you can see the difference bellow…So if you like the natural light brown color eggs please use the turmeric to make it happen.
Please check the images below to see the differences…

FINAL NOTE about Natural Best Turmeric Easter Eggs
The best recipe to have fun with your kids or just making it by yourself for your family.
Super easy to make and joy to eat.
Be sure to share this recipe with whole world and your family!
Again, enjoy and share.
Final Grade: A+++
OTHER LINKS FOR EGGS Recipes
Onion Skin – How to naturally dye eggs
Happy Easter – Rice and Happy Eggs
Onion Skins – Natural Color to Your Easter Eggs
Easter Eggs and Baby Wipes – Abstract Art
If you want more recipes with eggs check the links below…
Happy Easter – Easy Top 5 Easter Recipes
Egg Salad Sandwich Recipe-Best Protein
Now, if you are looking for the perfect dessert this is my choice…(the eggs are star of this recipe)
Sponge Cake 6 inch pan – How to make it – Easy and cheap to make.

If you want to print this recipe, please check the box below.
PRINT Natural Best Turmeric Easter Eggs
Don’t forget:
PRINT – MAKE – SHARE

Natural Best Turmeric Easter Eggs
Natural Best Turmeric Easter Eggs - super easy project for your kids
Ingredients
- 5 eggs, boiled
- 4 cups water
- 1/2 tsp vinegar
- 1 TBSP turmeric
Instructions
Important: use white eggs for this recipe.
Add water to the sauce pan and bring to the boil.
When water boils remove from the heat and transfer to the bowl.
Immediately add 1 TBSP of turmeric and stir with wooden spoon.
Add the white vinegar and quickly stir again.
Cover the mixture and let it sit for 15 minutes.
Your next step is to pour the turmeric mixture into a sauce pan through a strainer.
Then add 5 hot boiled eggs to the turmeric mixture.
Important: Be very careful when transferring hot eggs to the turmeric water.
Be sure the eggs are completely covered by the liquid.
Be kind and let them enjoy turmeric bath for at least 2 hours.
My Easter turmeric eggs were bathing for full 3 hours.
Please check the color after 60 minutes and keep checking until you get the color you like.
If you like very light yellow eggs 60 to 90 minutes might be enough.
When you are happy with your sunshine eggs remove them from the liquid and place on paper towel to dry.
Extra step I like to do: Take a little piece of cheese cloth and moisten with olive oil. Then rub your eggs to make them extra happy, sunshine yellow turmeric eggs.
And this is it. You just made the sunshine eggs in your kitchen.
So, please don't forget to share and enjoy.
Also, don’t forget to visit 100 Best Canadian Food Blogs and Websites
or check this link publ and enjoy many search options. One of them is 5 star cookies.
Thank you for visiting the best food blog, 5 star cookies.
Love and hugs from your
Cookie
See you soon…
BE KIND…Share